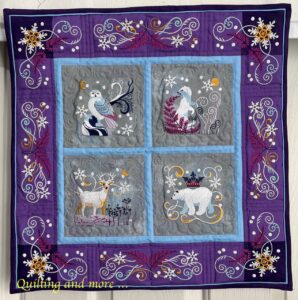
The San Francisco Stitch Co. gave away the embroidered designs for this quilt for a time; they add onto a theme from the other seasons they’ve done. The finished quilt measures about 18.5″ x 18.5″, and I finished it in February, 2023.
Blog posts: Block 1, Block 2, Block 3, Block 4, Borders, Quilt top
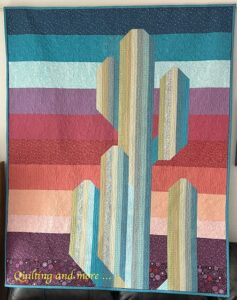
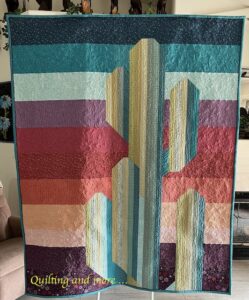
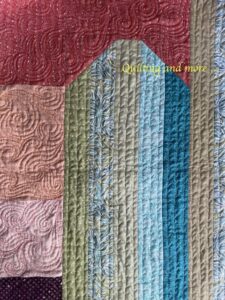
This quilt, which measures 58″ x 72″, was designed by Christina Cameli. It reminded me of the saguaros we used to see everywhere when we lived in southern Arizona, and my husband loved the picture of the design. I machine pieced and free-motion machine quilted it, using straight lines with jagged spines for the saguaro and swirls for the background. I added my usual piping next to the binding, and finished the last stitches in August, 2022.
Batting: Quilter’s Dream Bamboo
Blog posts: Saguaro, Saguaro, part 2, Saguaro quilt
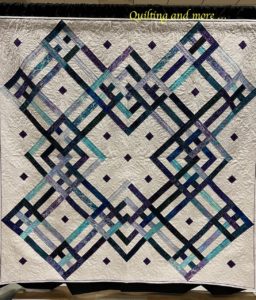
I made this quilt as a gift for our third grandson, who is going to be a dentist. The design is called Ribbon Weave by Basic Grey. I didn’t pay close enough attention to the size of the design, and it turned out to be quite a bit larger than the lap-sized quilt I’d intended to make. It’s 85″ x 85″! I machine pieced and quilted it, putting feathered wreaths into each of the white blocks with purple center squares. There are feathered rows in the white strips between the colored strips, and those colored ones were quilted simply with straight lines done with ruler work.
I began the quilt in December, 2021, and finished it in March, 2022. Here are photos of the quilt and some details of the quilting, as well as one of the label. 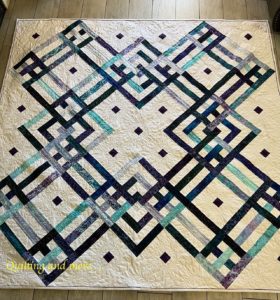
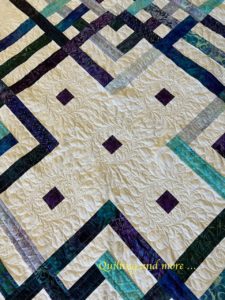
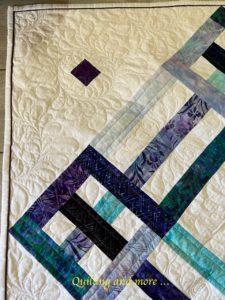
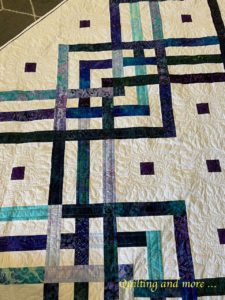
Here’s another photo, taken while it was hanging in our local quilt show.
Batting: Quilter’s Dream Blend (poly/cotton)
Blog posts: Ribbon Weave Quilt, Update, It’s Started, Slow Progress, Another finish
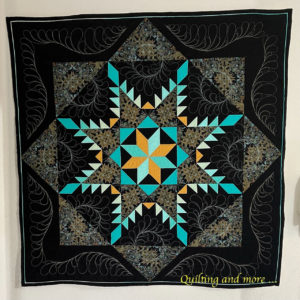
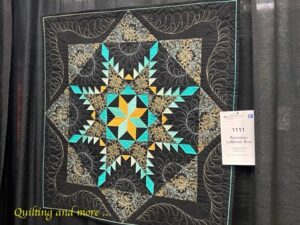
This quilt is the result of a drafting/piecing lesson in a series of online classes offered by Philippa Naylor. Since I love both feathered stars and LeMoyne stars, I jumped right in to make it. I fussy cut the Paula Nadelstern print and filled in the other pieces with solids. Rulerwork straight lines and free-motion feathered quilting motifs, as well as corded piping completed it.
The finished quill measures about 39″ square, and I finished it in October, 2021.
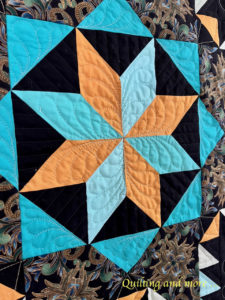
This is the center of the quilt, with lots of feathered quilting.
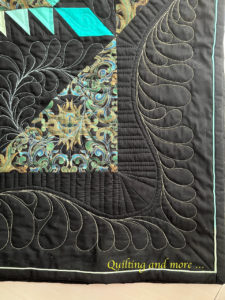
Feathered wreath in the setting squares and feathered spray in the border, along with straight lines.
This quilt has now traveled to the Road to California show (January, 2023) and also won an Honorable Mention ribbon at our local Desert Quilters of Nevada show in March.
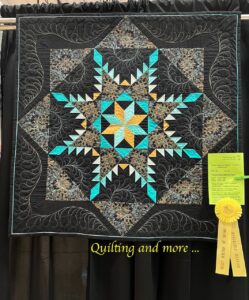
Now this same quilt has returned from hanging in the Paducah AQS show!
Blog posts: Next project, A little progress, The top is finished, Adding quilting, Feathered LeMoyne Star, Our local quilt show, Home from Paducah
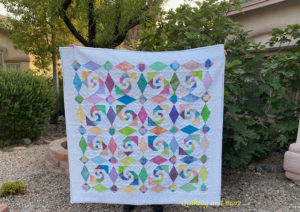
The background fabric here is a white-on-white fabric with happily flitting dragonflies, which is where I got the name for the quilt. I thought the colorful blocks gave the dragonflies a sort of garden to play in.
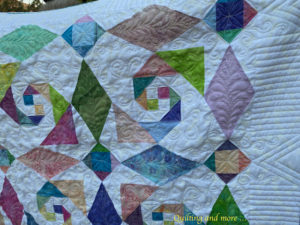
The quilt is made of curvy snail’s trail blocks with sashing and inner borders of diamonds in rectangles and square-in-a-square blocks. The outer border is more of the dragonfly fabric, followed by multicolored corded piping and the white binding.
I quilted free-motion swirly motifs and feathers (just because I love feathers) to mimic the dragonflies playing, and I used free-motion ruler work in the outer border to give the “garden” a fence. The sashing creates a star where it comes together. Look just left of lower center of the detail picture.
The backing fabric is mainly white, but it’s covered in tiny speckles of all of the colors used in the quilt.
The quilt measures approximately 60″ x 60″ and was finished in August, 2021.
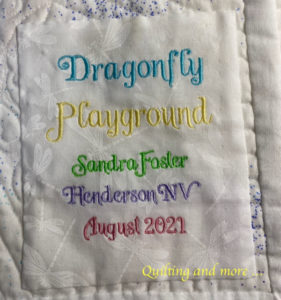
Blog posts about this quilt: A New Project, Snail’s Trail Blocks, The top is finished, New Quilting Tool, Dragonfly Playground
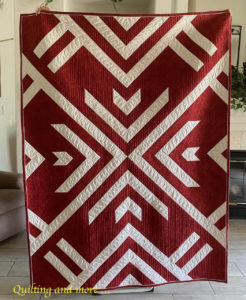
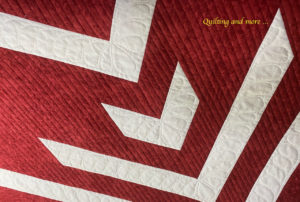
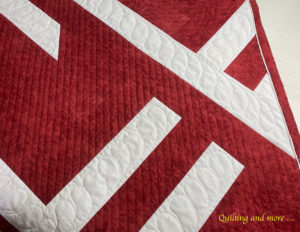
Homecoming is a design from Lo & Behold Stitchery. I made the lap quilt size (approximately 53″ x 71″) in the two-color variation, beginning in February, 2021, and finishing in April, 2021. I quilted free-motion feathers in the white areas and did ruler work diagonal lines, spaced at 1/2″ intervals, in the red. I also put white piping between the quilt top and the binding. The quilt was a gift for our second-eldest grandson (age 20).
Here are a couple of details of the quilting:
Blog posts about this quilt: Homecoming — a quilt and Homecoming quilt
I made this quilt on a whim when I saw a pattern that I liked. The original design had each elephant standing separately from the others, each in its own background square. However, I know that most elephants are actually family units, so I made my elephants connect by intertwining their trunks and tails. The quilt was machine appliquéd and machine quilted, using both free motion and ruler work techniques, and it measures 36.5″ x 39.5″. I finished it in February, 2021.
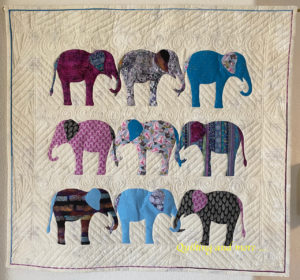
Blog post 1, 2, 3

This is a banner that hangs in the entry of our home. I used lettering from OESD’s Quilted Alphabet embroidery designs to do the trapunto and quilting, substituting Soft and Stable for the heavy batting suggested in the pattern. The banner measures 34.25″ x 7″, and I added the piping that I like so much. It was finished in November, 2020.
Blog post
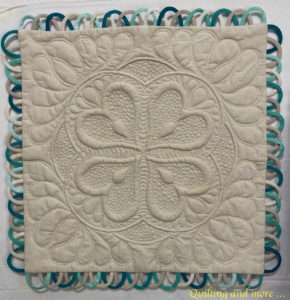
This little quilt is the result of a couple of online classes in a series from Philippa Naylor. The trapunto and the rouleau loops were in separate classes, but they seemed to work together. I really didn’t like the beige fabric I’d used in the trapunto, but it was what I had in the appropriate size. Beige — ugh. When it came time to practice the rouleau loops, I used a gradated fabric in shades of teal and a couple of other beige fabrics in hopes of brightening up the piece.
The feathered quilting between the trapunto and the edge is really too large; a better choice would have been some small, closely-spaced motifs. However, I was in a hurry to finish.
The finished quilt measures about 18″ square and was finished in July, 2020.
Blog posts about this quilt: Further steps, Finished class sample
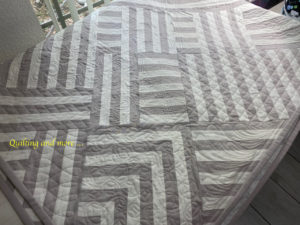
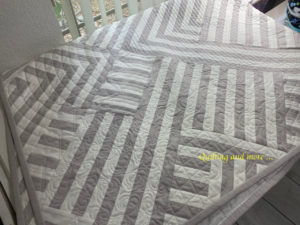
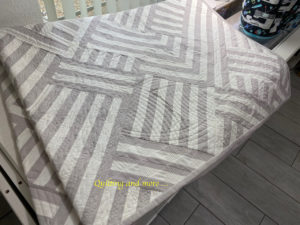
This quilt was designed by Brittany at Lo & Behold Stitchery, and I loved the graphic two-color design. This is the throw size, which measures 57″ x 71″. I began making it in February, 2020, finishing the piecing fairly soon. However, I then took a break during most of March, April and May before quilting it in June and finishing the label in early July. The quilt will be a gift.
I machine pieced the quilt and did free-motion quilting and ruler work to quilt it, placing a different motif in each section.
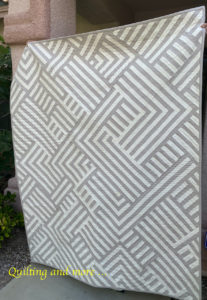
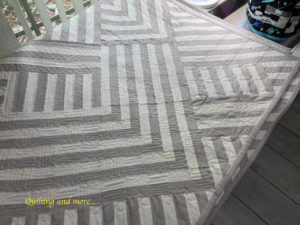
Blog posts about this quilt: beginning, blocks, quilting, finished.


