 Ta-da! It’s done! 🙂 This quilt actually went together rather quickly, from the drafting to the quilting. In fact, deciding on how to quilt it probably took longer than any other part of the process. However, I’ve always loved both feathered stars and LeMoyne stars, so it was a no-brainer for me to make this after seeing how the drafting worked, thanks to the online class from Philippa Naylor.
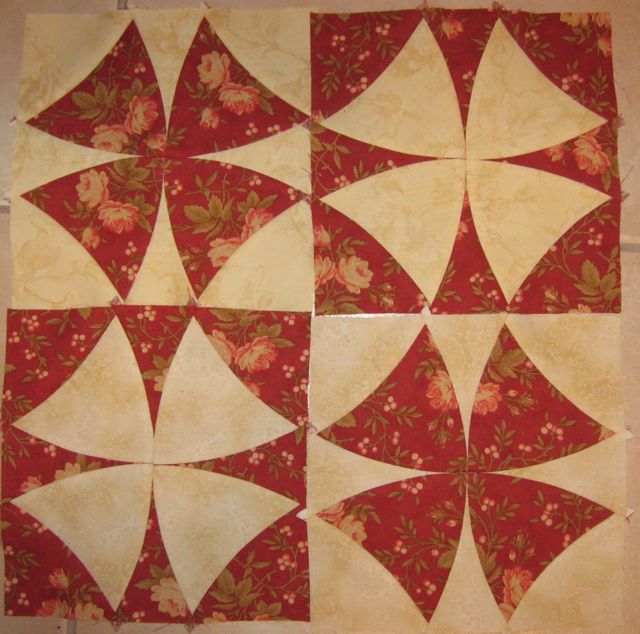
I was lucky in finding that I had just enough of the beautiful Paula Nadelstern print to be able to fussy cut it for the kite shapes and the setting triangles. The other fabrics were lovely Art Gallery solids that picked up the colors of the print.
 I machine quilted this piece on my lovely Bernina 790+, using both free-motion and ruler work. There are straight lines in the black background around the LeMoyne Star, as well as in all of the little colored triangles forming the feathers of the feathered star. And since this is a feathered star, I mostly concentrated on feather designs (not that I love feathers at all, of course! LOL!) in the rest of the spaces. I quilted feathered sprays in the points of the LeMoyne Star, using matching thread, as well as in the dark teal triangles surrounding those points. It’s very difficult to see the metallic gold quilting I did in the kite shapes to accent the beautiful print.
 Next, I did feathered wreaths in the setting squares all around the feathered star. Finally, there are straight lines in the black border, followed by feathered sprays to frame the whole.
There was just enough of the feather fabrics for me to make the corded piping between the border and the binding. Click on the photos to enlarge them for a better view.


2 thoughts on “Feathered LeMoyne Star”
I love everything about this – the lemoyne and feathered star, the Paula Nadelstern fabric and your wonderful quilting. Congrats on a great finish!
Thanks so much, Kathleen! 🙂 I think having that fabric in my stash was so lucky!