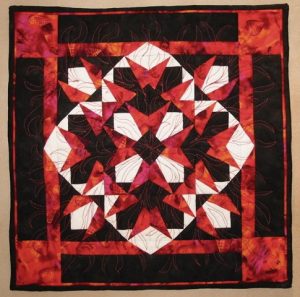
This is from a miniature pattern Carol Doak designed. I chose to do it in red, white and black, and it looked very “flame-like” to me when it was finished. I machine quilted it in a flame pattern with a variegated thread. It measures 12″ x 12″ and was finished in September, 2006.
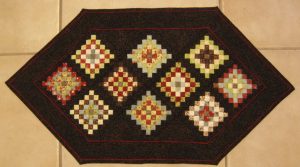
I saw a pattern called Confetti Cake and really liked it, except for the size. The blocks were over 11″, and I’m on a “smaller-is-better” kick. <G> I decided to cut the strips necessary for making it at half the required size, and my blocks ended up being 3.75″ — much better! I only had enough of my fabrics to make ten blocks, so I set them on point into a table runner that measures 29.5″ x 15.75″. I used corded piping on either side of the border and machine quilted more of the feathers I like so much. It was finished in June, 2009.
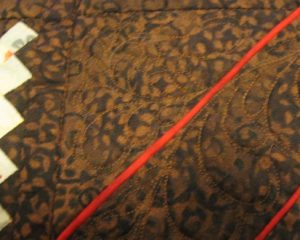
Here you can see a bit of the quilting in the border and one of the setting triangles:
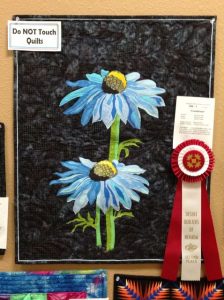
I fell in love with a pattern in Melinda Bula’s Cutting Garden Quilts and knew I had to make it. As luck would have it, she ended up teaching the class for that very pattern in Lake Havasu City in January, 2012, so I signed up. Sadly, I didn’t enjoy the class at all for various reasons, but I came home and made the quilt anyway, following the directions — more or less — in the book. It’s made with fusible appliqué, and then it was supposed to be thread painted to make sure all of the pieces were permanently attached, but my thread painting ability isn’t so great, so I simply did lots and lots of echo quilting inside each piece.
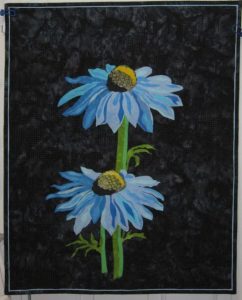
After doing the echo quilting, there was a lot of negative space to fill. The directions said to do echo quilting there, but I’d had enough echo quilting by then, so I put in some large, flowing sprays of the machine-quilted feathers I love so much instead. Then I added some piping for added interest before binding the quilt. I didn’t think this one needed any borders at all.
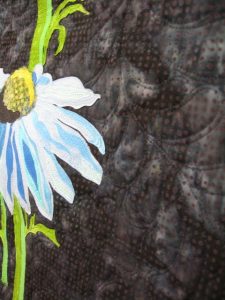
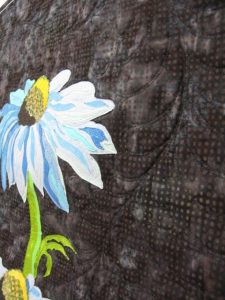
I finished the quilt in May, 2012, and it measures 26″ x 21″.
Update! This quilt won second place in its category at our local guild’s quilt show in April, 2013.
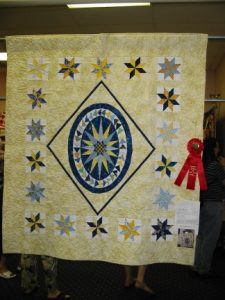
In July, 2001, I took some classes at Quilt Camp in the Pines. This was my fourth year there, and it gets better every time! I had two days of classes with Sharyn Craig, one of which taught us a technique to make LeMoyne Stars and their set-in seams all but painless. I also had a two-day class with Judy Mathieson. In that one, we learned to draft any size and shape of Mariner’s Compass, as well as curved flying geese to surround the compasses. I wanted to make an oval compass, and I also wanted to use some of those wonderful LeMoyne Stars with it. This quilt is the result of that idea. The quilt is entirely machine pieced and hand quilted.
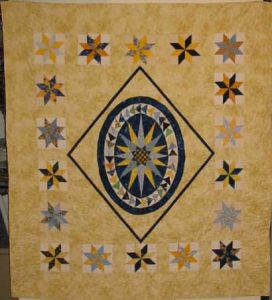
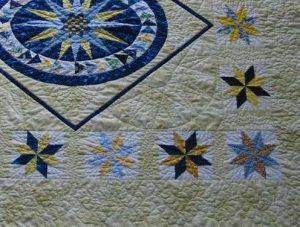
You can see the quilting better in the close-up below; I did partial compasses in each of the large triangular areas between the narrow navy border and the stars, some simple shapes to accent the compass and the stars, plumes between the flying geese and the narrow border, small feathered sprays between each star, and a large feathered vine in the outer border. I finished it in May of 2002, and it measures 51″ x 57″.
In April, 2003, I entered this quilt in our local quilt show, where it took second place in its category! Here it is all dressed up with its ribbon:
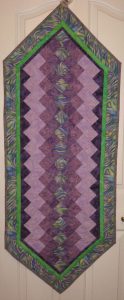
This was a project my local group decided to do together; we each made this in our own choice of colors. As for me, I raided my stash and was able to finish the runner without buying anything at all! 🙂 It measures 55″ x 22″, and I finished in in February, 2011.
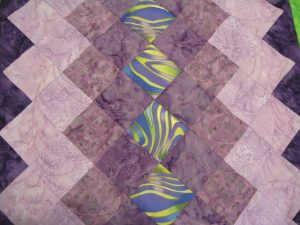
And here is a detail of the feathered quilting I did on it:
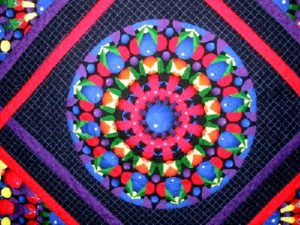
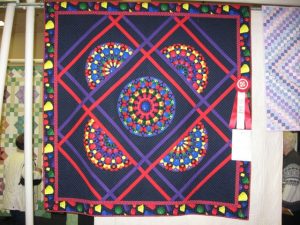
In January, 2007, I had the chance to take a class from Bethany Reynolds. She was in Phoenix for Quilting in the Desert, and I just couldn’t miss that. Her quilt had five complete circles in it, but I made mine a little smaller by making four semi-circles and only one complete circle; I designed it in EQ6. It’s entirely machine pieced and machine quilted and measures roughly 60″ square. I finished it in June, 2007.
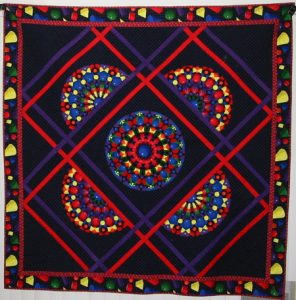
Here’s a closer view of the center circle:
Update: I entered this quilt in our local show in February, 2008, and it won a second prize! Here it is with its ribbon:
My two daughters and their families needed tree skirts, so I’ve finally gotten around to making them for them. I used the same pattern for both; it’s from Eleanor Burns’s Christmas at Bear’s Paw Ranch and was pretty easy to make, though I’ve never seen square tree skirts before. But these are the biggest ones I’ve ever seen! They measure about 51″ square, and they’d have been larger if I hadn’t made the borders narrower than specified. I used some of the same fabrics for the geese in each, but some are different to go with the different stripes I used for each skirt’s borders.
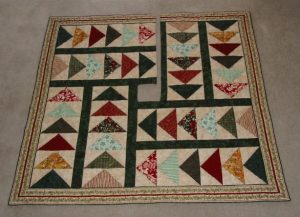
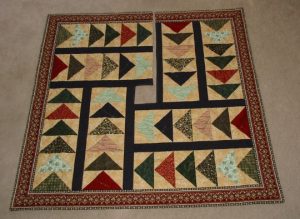
Both skirts were machine pieced and machine quilted. I used a neutral thread to stitch in the ditch along various lines in the border stripes, as well as along all of the sashings. Then I used variegated rayon thread in rich Christmas shades to make free-motion holly leaves and berries. One skirt has a garland of these leaves and berries arching over each flying goose, and the other has a long garland weaving through each row of geese. Here are a couple of details:
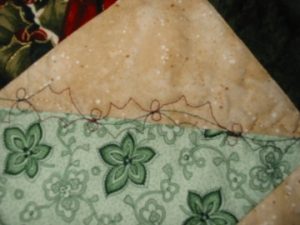
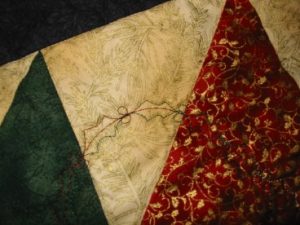
Both tree skirts were finished in March, 2005, in plenty of time for Christmas.
I made this wallhanging in 1999, since we thought at the time that we wouldn’t be spending Christmas at home. Huh? Let me explain. Since we weren’t going to be home, I didn’t want to put up my tree. However, I wanted something to look like a tree in order to get into a holiday mood. Hence, the idea of making this quilt was born! As it turned out, we did stay home, after all, so I ended up with this and the regular tree!
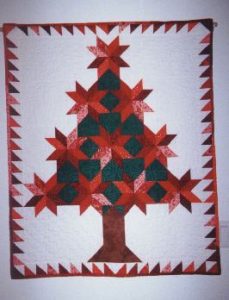
The quilt, machine pieced and machine quilted, is approximately 36″ by 44″ and comes from a pattern by Gail Abeloe (Back Porch Press). It fits pretty nearly perfectly into a little niche in one of the inside walls of my house.
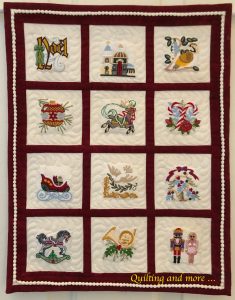
This quilt is a variation on the two in Christmas Embroidery. but it’s much smaller at 12.5″ x 16″. Again, the designs came from San Francisco Stitch Co. The quilting is different, since the radiating lines on the other two would have been lost on such small blocks; I chose feathers, instead. Another difference is that, rather than the corded piping I usually add next to the binding, I used beaded piping. This technique came from Bethann Nemesh and is quite time consuming — though I think it’s well worth the effort. This quilt was finished in May, 2019.
The local quilt circle I belong to had a block exchange with a Christmas theme in October, 2003. We had to select our block patterns from a list and then made them in our choice of two sizes: 6″ finished or 12″ finished.
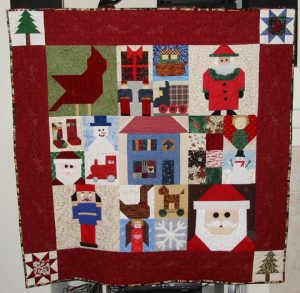
As you can see, I grouped sets of four of the 6″ blocks together and alternated those sets with the 12″ blocks. I had four blocks left over, so those became the cornerstones for the border. I machine quilted this with a motif of continuous-line five-pointed stars in a variegated thread — a mistake, since the colors melted into the fabrics. :S The quilt measures 47″ square and was finished at the end of July, 2004.


